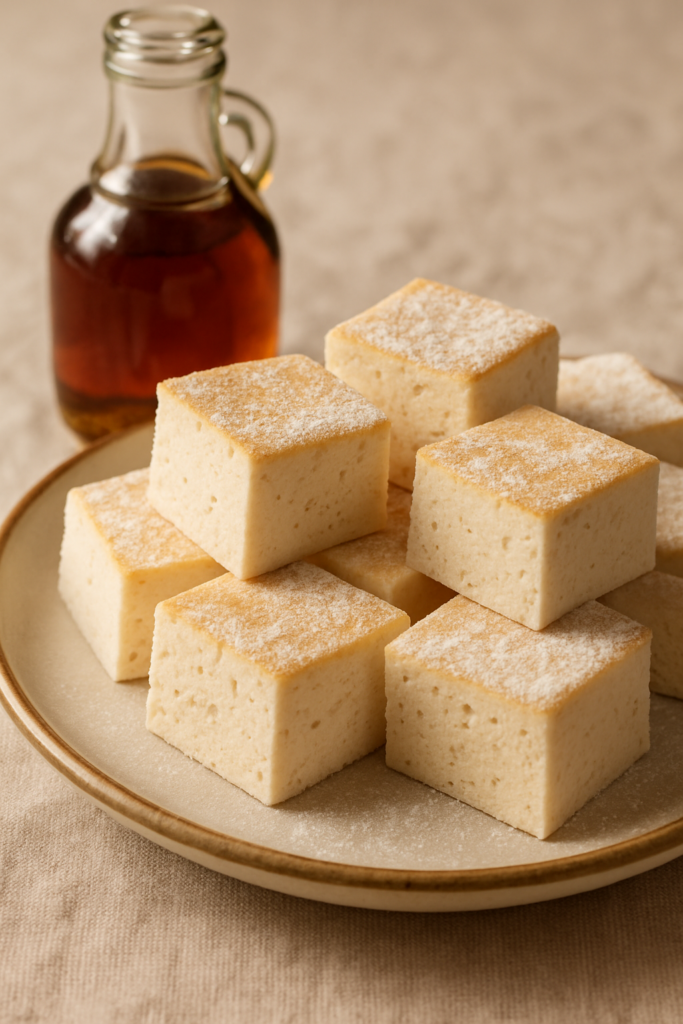
Have you ever wanted an easy all-natural version of the fall staple that we all loved as children? Well these homemade all-natural maple syrup marshmallows are an easy treat that you don’t have to feel guilty about giving your family!
Here at my house, my family and I are trying to incorporate more activities we can do at home together. One of the things that I love to do is build a bonfire. I love fall and the crisp air that it brings. We don’t necessarily get a lot of that cool, crisp air here in the deep south, but when we do get those cold days, I sure do love a cozy bonfire.
One of the ideas that I had to make the bonfire more fun was to have s’mores, obviously! I recently found out that I have PCOS, so I can’t have regular sugar-filled marshmallows. Therefore, I decided to make them with a more natural alternative.
Marshmallows are a small part of a child’s childhood that I don’t want to take away because I have a condition, or because I don’t want to expose my children to the harmful ingredients in most of our foods. So, as a compromise, I am learning different ways to make our foods and snacks healthier for everyone to enjoy here at home.
Maple Syrup may seem like it isn’t great or that it isn’t healthier than regular granulated sugar, but that’s not true. The only thing about this simple switch is that it needs to be REAL Maple Syrup, not Mrs. Buttersworth’s. Obviously, the best is from family farms throughout Vermont, but the store-bought real Maple Syrup will work too.
Tips for Making Marshmallows at Home:
- I recommend always using some kind of mixer to fluff these marshmallows together. Hand whisking them to the desired consistency will take a long time. Whether it is a stand mixer or a handheld mixer, either will work.
- When it is time to add the syrup to the bowl with gelatin, I recommend that you start your mixer before you add the syrup, so that you can focus solely on pouring the maple syrup into the bowl without burning yourself.
- Pour in the hot contents slowly. We will be heating this recipe to about 240º, and we do not want it to spill out anywhere.
- Start your mixer on a lower speed. Once again, the contents of this recipe will be hot and you don’t want it spilling on you.
My family and I enjoyed this sweet treat by making some s’mores! It is summer right now in the deep south, so we didn’t make a bonfire. We got a kitchen torch and melted the marshmallows to our desired doneness and then enjoyed them with the graham cracker and chocolate. I will say one thing to watch out for with these marshmallows – when they melt, they get messy and liquidy!
Tools You May Need:
- Mixer
- Candy Thermometer
- Sauce Pan
- Spatula
- 9×9 pan
- Measuring Cups
How to Make All-Natural Marshmallows:
- Add the cold water and gelatin to a bowl and let it bloom. What is bloom? It is when the water activates the gelatin and makes it thick.
- While the gelatin is blooming, add your maple syrup to the sauce pan on the stove until it reaches the soft ball stage at 240º. The soft ball stage means that it won’t turn hard as a rock when it cools.
- Once your maple syrup reaches 240º, you want to add in your salt and vanilla. For extra pizzazz, you can use a vanilla bean, scrape out the bean caviar, and add it to the maple syrup.
- After adding in the salt and vanilla, quickly but carefully start to pour your maple syrup into the bowl with the gelatin.
- Mix your gelatin and maple syrup until you get soft peaks. (Many people recommend hard peaks, but I find it harder to work with as it is already starting to set.)
- Once you reach soft peaks. Pour the marshmallows into the dusted pan and smooth them out.
- After you smooth them out, dust them with some more powdered sugar and let them set.
- Once they are set, you can cut them into 1×1 cubes and enjoy!
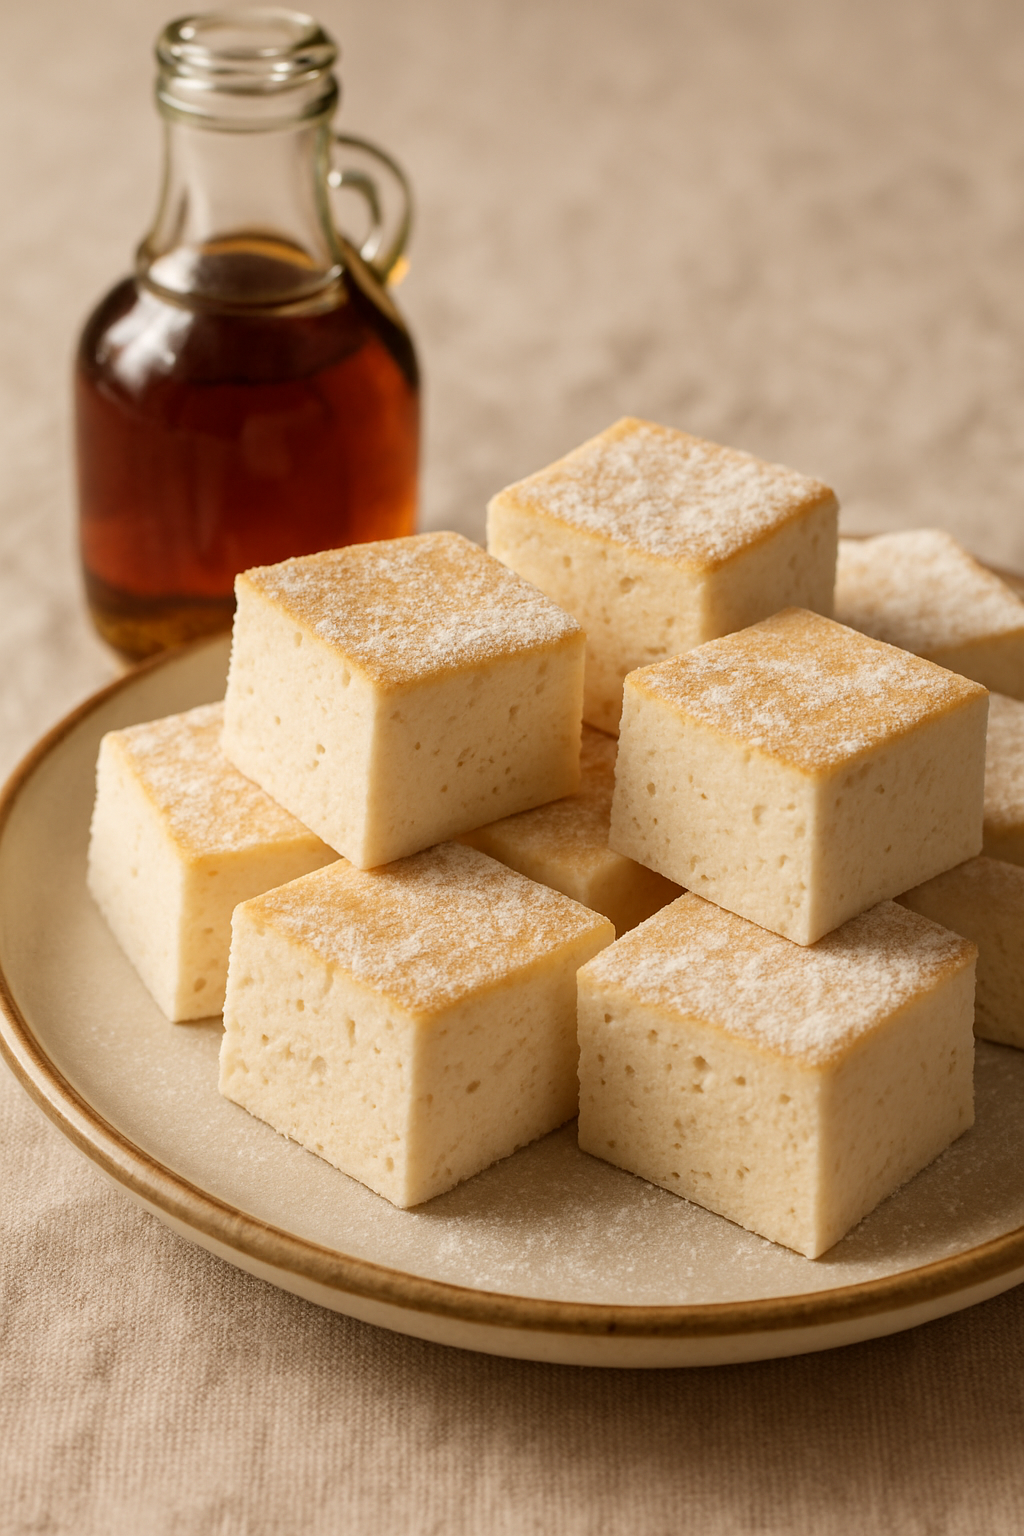
All-Natural Marshmallows Made With Maple Syrup (not with Corn Syrup)
Ingredients
Equipment
Method
- Dust the bottom of your 9×9 pan with the powdered sugar.
- Add cold water and gelatin to a bowl and let it bloom.
- On the stove, add the maple syrup to the pot and begin to heat it.Once it reaches 240º, add the salt and vanilla extract. (Be quick but careful. You don't want to spill it, but you also don't want it to get thick and hard to work with.)
- Slowly add it to your bowl with the bloomed gelatin while mixing with your mixer. If using a stand mixer, turn the mixer on slow while you slowly pour the syrup into the bowl.
- When all of the syrup is added and incorporated a little, turn the mixer on high.
- Once the mixture comes to soft peaks, turn the mixer off and add the mixture to your dusted 9×9 pan and smooth it out.
- Once smooth, dust powdered sugar on top while it sets.
- Once set, cut the marshmallows into one inch squares and enjoy!
Notes
- Work quickly once you get the mixture off the stove. It will thicken up to where you can’t pour it into the bowl.
- Have your mixer on and in the bowl as you are pouring the maple syrup into the bowl. Don’t pour and then mix; it will burn the gelatin.
- To make it even more PCOS-friendly, instead of powdered sugar, you can dust the pan with arrowroot powder or create your powdered sugar by blending coconut sugar in a blender.
Thank you for trying my recipe and spending some time here on my blog. If you want to get to know more about me, please check my page out here.
Leave a Reply